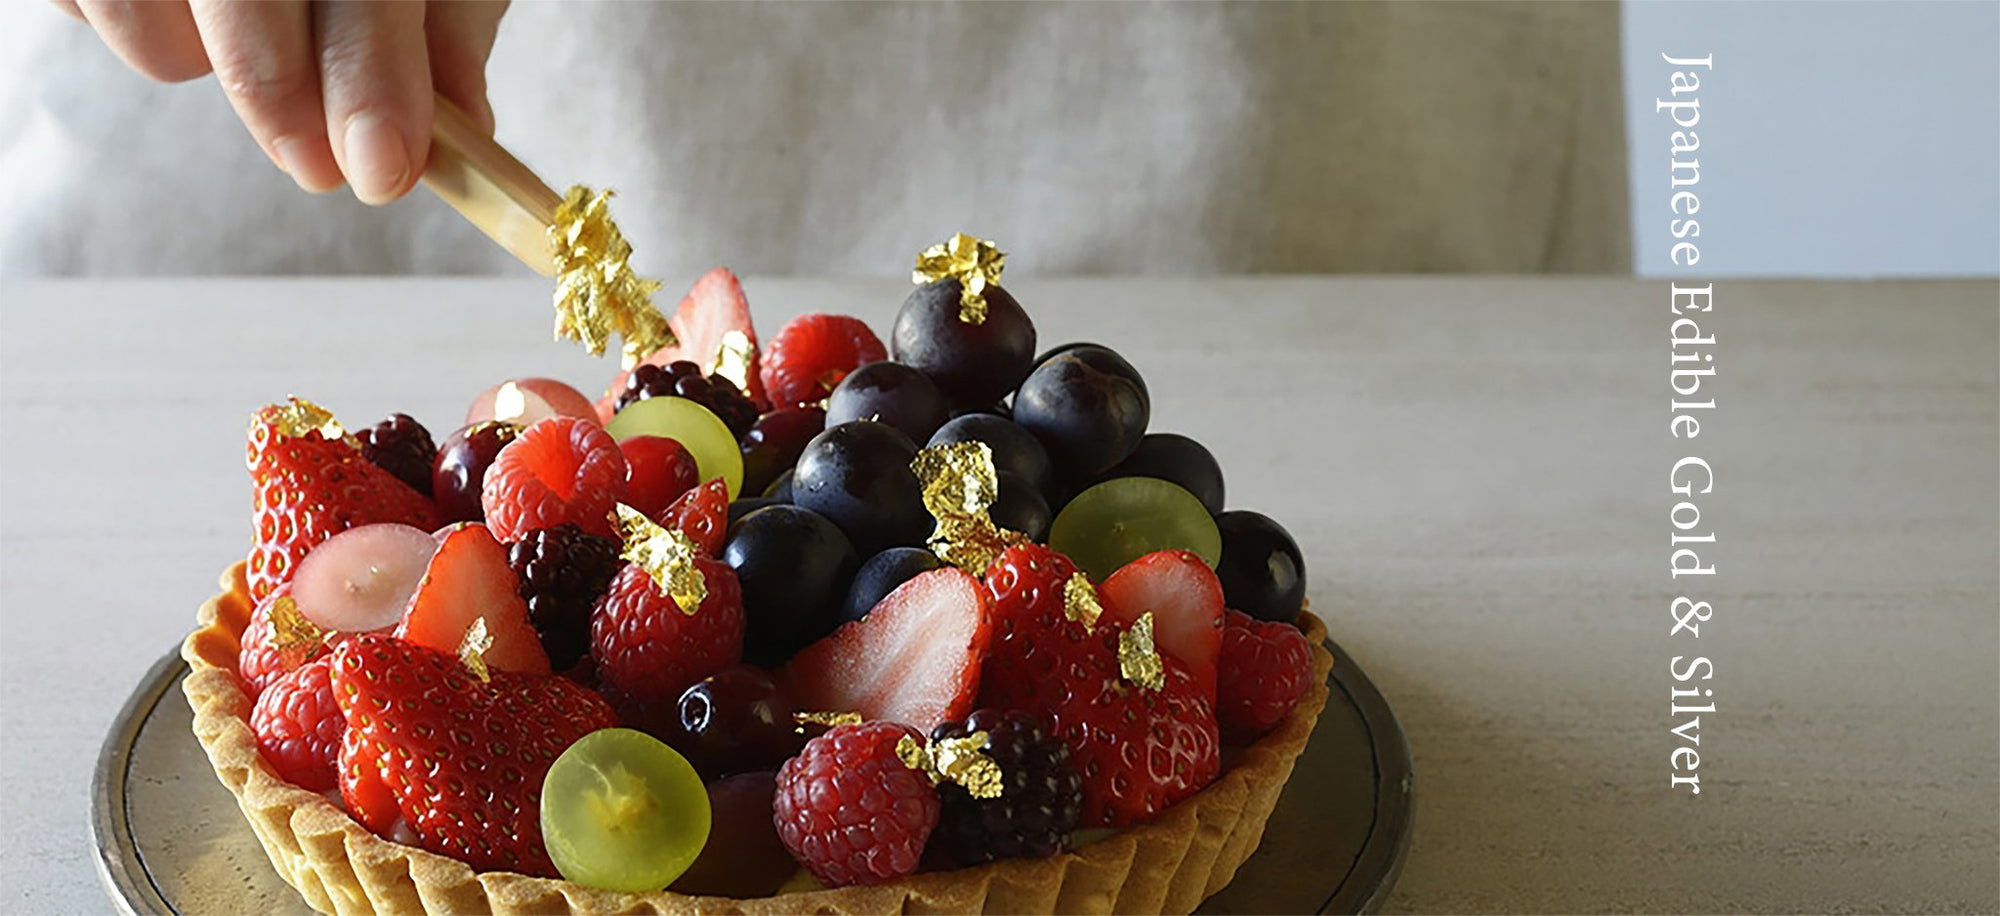
Applying Gold Leaf
•Posted on July 01 2019
My favourite thing about baking for family and friends is that I get loads of leeway when it comes to the design. They give me a little bit of an idea on their theme and take it away from there.
Well, this week it was my niece's 18th birthday and the theme was 'GLAM'. So, what better way to glam it up than taking a chocolate cake and covering it entirely in wafer thin, REAL edible gold leaf.
Here's the finished product:

Now, I'm no stranger to gold leaf but I still get a bit nervous when it comes time to use it. It's not the easiest medium to work with. It wants to stick to hands, brushes, tools, or just float away. Basically, it wants to go anywhere BUT where I want it to.
I've used all manner of brands over the years and there are definitely some that work better than others.
What I look for in Gold Leaf
Quality gold leaf is made by melting a block of gold made from mostly real gold & a small percentage of real silver. From there, it's made thinner by repeatedly pounding it until it becomes a 1/10,000mm thin gold leaf.
Personally I look for gold leaf products that list at least 23 karat edible gold on the packaging, produced in places such as Japan or Germany. Quality products such as our Book of 5 Transfer Sheets also mention reputable sources and hygienic practices.
The most important things is to avoid products that are manufactured cheaply, which often translates to fillers or artificial colours. Cheaper products might be OK for small flecks, but when you want to impress with large gold leaf sections cheaper products will be more difficult to use and dull.
Another thing that came up for me during this process was the difference between standard gold sheets and quality, gold transfer sheets.
Here's some tips and info I came up with after my most recent project.
1. Transfer Sheets
Standard gold leaf sheets come in a 10 or 11cm square, on a backing sheet that is very close to that same size. It can be tricky to handle without getting your fingers on the leaf itself and harder yet to apply it perfectly when you can't see exactly where the leaf is landing while you're applying it.
Transfer sheets on the other hand, are smaller than the size of the backing sheet, meaning you can grab it from any side and place it whilst looking through the see-through backing sheet to your work underneath.
 A full size sheet vs. transfer sheet
Both sizes definitely have their place for specific decorating purposes, and until recently I'd have opted for the full size sheet thinking it would be easier to cover a larger area, quickly.
However, when you're applying gold leaf, if you want it to sit as flat as possible (not crumpled up) it is imperative that once it is on the cake you don't try to move it. So basically, you get one shot at putting it in the right place. This is why I found the transfer sheets so great.
The beauty of our transfer sheets is that you can easily handle the plastic backing without touching the gold leaf. Because the backing is see-through, you can also line up your square of gold leaf exactly to the previous one, making a perfect join and maximising the area you're covering with each square.
I can't stress how much easier I found it covering the cake with these transfers compared to a larger 11x11cm piece. (Ask Marcus, I couldn't stop talking about it).
Here's some pics to show you what to expect when you open a transfer packet (Note the more recent packets have larger 80x80mm gold sections on a 95mm transfer). Note the use of cotton food prep gloves to prevent gold leaf sticking to my hands!
![]()
2. Sugar Glue
For best results in adhering my leaf to the cake, I simply brushed sugar glue on to the patch of cake I wanted to stick my gold leaf to before applying each sheet. You could substitute with piping jelly, or a sugar syrup in a pinch. As long as your surface is nice and tacky (avoid making it too wet).
3. Cotton Gloves
As I mentioned above, gold leaf sticks to everything. Especially fingers! The cotton gloves I use are food grade and only cost about 6 dollars. Money well spent when you consider each transfer sheet is worth much more than that!
With cotton gloves on, you're able to lightly tap on the gold leaf to press it in place on your cake (or push down any wayward pieces) without it lifting away and crumpling up in to an unusable mess.
4. Brushes
I use a thin brush or fan brush to paint on the glue to the cake as I go, focusing only on the areas that I want my gold leaf to stick, working on one section at a time.
Once my gold leaf is stuck in place, the larger lustre soft bristled brush is useful for pressing down on the back of the transfer sheet to adhere it in place, before I peel the backing away.
5. Get started
Make sure there is no breeze/fans blowing on your work, take your time and get all your equipment together before you start.
Then, start to apply your sheets one at a time to your cake, using sugar glue before applying each new sheet and pressing gently with the soft brush before peeling away the transfer backing.
Here's some progress pics from my project:

5. Fill in the gaps
One thing you're maybe not aware of, is that each transfer sheet can be cut with sharp scissors. This way, you can reduce waste when you're trying to fill smaller gaps. Just make sure you keep the front and back protective sheets on the leaf while cutting, so the leaf doesn't stick to the scissors.

5. Over the edges
Your last hurdle is over the edges at the top, but it's not so tricky! Let the top of your gold leaf stick up above the edge of the cake and then once you've removed the backing sheet, simply press it gently with your lustre brush and it will settle down over the top without too much drama. From there, you just fill in the top like you did the sides and you're done!

I hope this info helps, be sure to comment below if you give it a go yourself!
~Sarah-Jane

Comments
2 Comments
-

Posted by Sarah-Jane | July 08, 2019
-

Posted by Donna | July 08, 2019
Leave a CommentThank you so much Donna! (And you’re my first comment on a blog post – hooray! – thanks for reading). ~Sarah-Jane
What a stunning cake. Thanks for sharing that great advice on how to handle gold leaf when decorating.